 Claude
  Perplexity
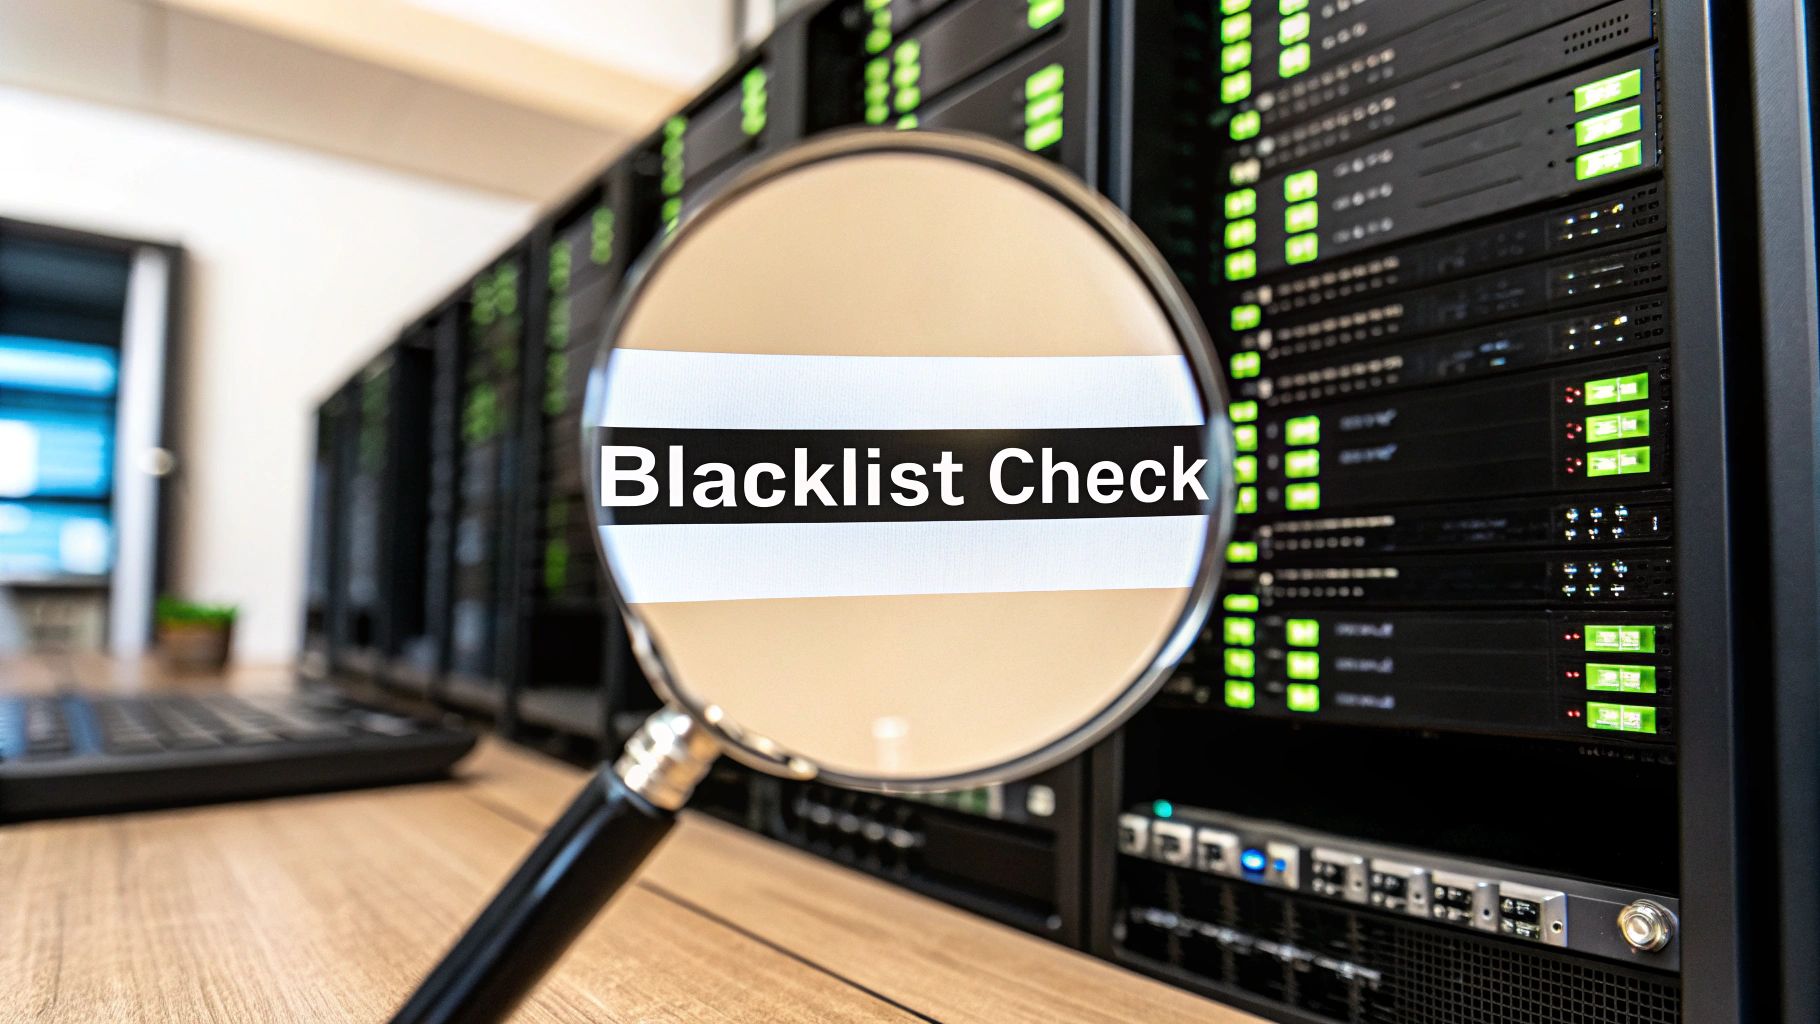
How to Check If Domain Is Blacklisted and Protect Your Reputation
Discover how to check if domain is blacklisted and safeguard your reputation with practical tools, steps, and proactive tips.
TL;DR: Discover how to check if domain is blacklisted and safeguard your reputation with practical tools, steps, and proactive tips.
Ever launched an email campaign that seemed to disappear into a digital black hole? You’re not alone. The usual suspect is a blacklisted domain, which is a silent killer of email marketing ROI and your hard-earned sender reputation.
When your domain or its sending IP addresses land on a blacklist, major email providers like Gmail and Outlook can start automatically blocking your messages or, worse, sending them straight to the spam folder.
The quickest way to find out if you’re on a list is to use a free online checker. Tools like MXToolbox or the Spamhaus Project are my go-to resources. Just pop in your domain name, and they’ll scan dozens of major blacklists to see if you have any active listings dragging down your email deliverability.
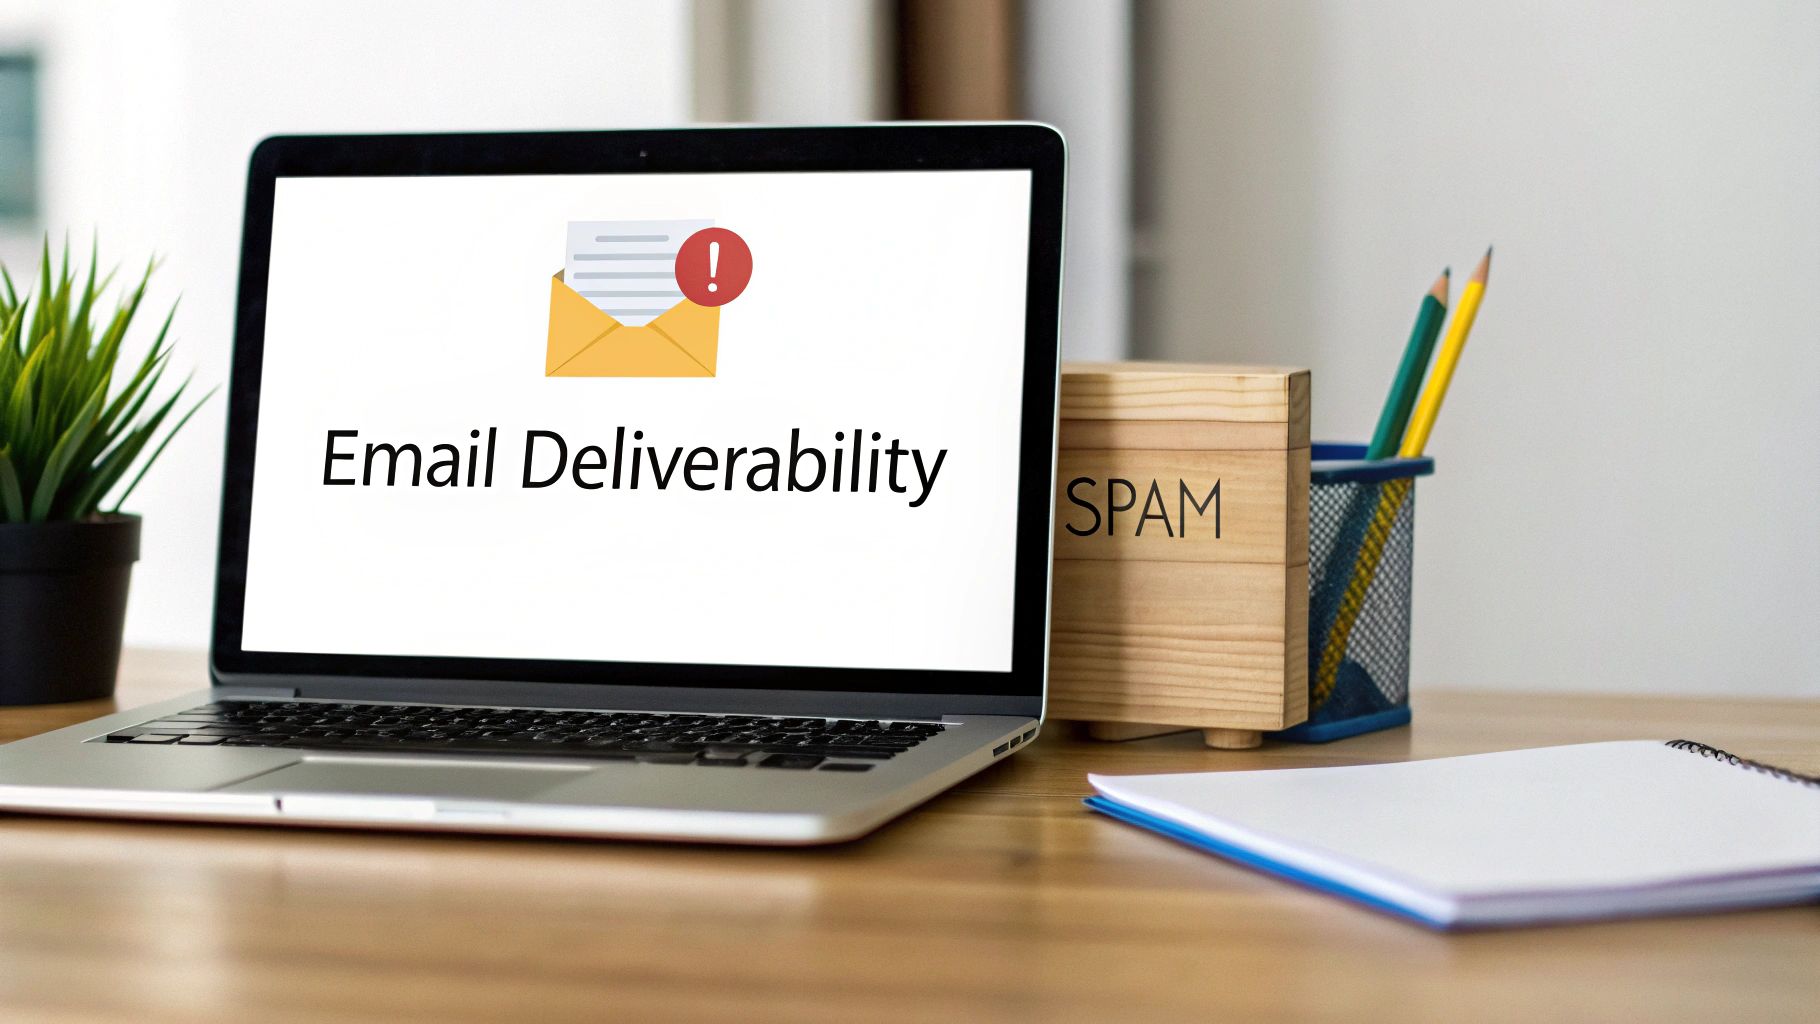
The Real-World Impact of a Blacklisting
Getting blacklisted isn’t just a small hiccup; it can have a real, measurable, and often painful impact on your business. The most obvious problem is a nosedive in your email deliverability, meaning a huge chunk of your audience simply never gets your messages.
This can cripple communication efforts and, over time, seriously tarnish your brand’s credibility.
Here’s a breakdown of the damage:
- A Wrecked Sender Reputation: Mailbox providers are always watching. A blacklist listing is a massive red flag, making it incredibly difficult to rebuild trust even after you get delisted.
- Plummeting Engagement: If your emails aren’t making it to the inbox, your open rates, click-through rates, and overall campaign performance will tank.
- Wasted Time and Money: Think of all the resources poured into crafting the perfect email campaign. A blacklist makes that effort completely worthless, torching your return on investment.
A single listing on a major blacklist like Spamhaus can cause your bounce rates to spike by as much as 20-30% overnight. That’s a huge portion of your audience cut off instantly. This is exactly why regular monitoring is non-negotiable for any serious email strategy.
Demystifying the Jargon: DNSBL, RBL, and URIBL
When you dive into this world, you’ll see a lot of acronyms thrown around, like DNSBL, RBL, and URIBL. They might sound technical, but the ideas behind them are pretty simple.
To help you get up to speed quickly, here’s a quick rundown of what they mean and why they matter.
A Quick Guide to Common Blacklist Types
Understand the main types of blacklists and what they monitor to quickly diagnose potential issues with your domain or IP address.
| Blacklist Type | What It Tracks | Primary User Impact |
|---|---|---|
| DNSBL/RBL | Sending IP addresses known for spam activity. | Your server’s IP is blocked, preventing all email from that source from being delivered. |
| URIBL | Domain names found in the body of spam emails. | Even if your IP is clean, having your domain in a spam link will get your emails blocked. |
| Combination | Both IPs and domains, plus other factors like sending behavior. | Comprehensive block that’s often harder to get removed from. Spamhaus is a key example. |
Knowing which type of list you’re on helps you pinpoint the exact problem, whether it’s a compromised server (an IP issue) or your brand’s domain being used in shady links (a URIBL issue).
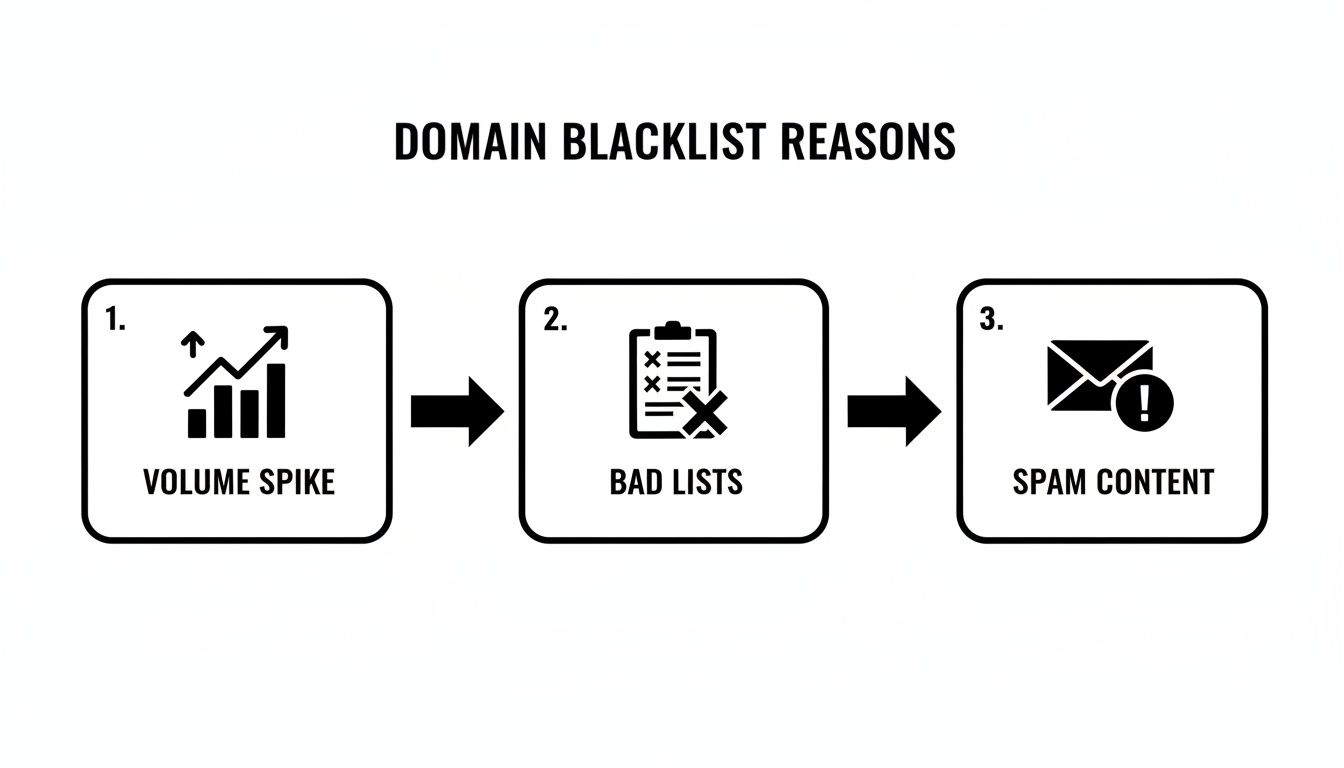
Common Reasons Why Domains Get Blacklisted
Understanding why your domain got flagged is the first step toward fixing the problem and—more importantly—preventing it from happening again. Blacklisting isn’t random. It’s a direct response to specific sending behaviors that trip up spam filters and reputation monitors.
Let’s dive into the real-world scenarios that land otherwise legitimate domains in hot water.
Often, the root cause is a sudden, unexpected spike in your sending volume. Mailbox providers get to know your domain and build a reputation profile based on consistent behavior. If you normally send around 500 emails a day and then abruptly blast out 50,000, that massive change looks exactly like a compromised server or a spammer who just hijacked your account.
This abrupt increase in volume is one of the most common red flags for blacklist operators. They’ll often block you first and ask questions later, just as a precaution.
Poor List Hygiene and High Bounce Rates
Another major culprit is the quality of your email list itself. If you’re sending campaigns to a list riddled with unverified or ancient addresses, you’re going to see a high bounce rate. It’s inevitable.
When a large percentage of your emails “bounce” back because the recipient doesn’t exist, it’s a massive signal to providers that you aren’t managing your lists responsibly. This is classic spammer behavior—buying or scraping low-quality lists and hoping for the best. To a blacklist operator, there’s little difference between a spammer and a marketer with sloppy hygiene, and consistently high bounce rates will sink your sender reputation fast.
Blacklists operate on a “guilty until proven innocent” model. If your sending habits mimic a known spammer—like using unverified lists or having high bounce rates—you’ll get treated like one. This is why proactive list cleaning is non-negotiable.
Content Triggers and Spam Traps
The content of your emails plays a huge role, too. Things like spammy keywords (“FREE!,” “Buy Now!”), excessive capitalization, misleading subject lines, or just stuffing your message with too many links can all trigger content filters. Even something as simple as poorly formatted HTML or broken code can get you flagged as suspicious.
Even more dangerous are spam traps. These are email addresses set up by blacklist operators specifically to catch spammers. Hitting just one can get your domain listed almost instantly.
- Pristine Spam Traps: These are fresh email addresses that have never been used publicly. The only way to get them is by scraping websites or through other shady means.
- Recycled Spam Traps: These are old, abandoned email addresses that were once valid but are now inactive. Hitting these is a dead giveaway that you aren’t regularly cleaning your lists.
Hitting a spam trap is a clear signal that your list acquisition and maintenance practices are not up to par.
Compromised Systems and New Domains
Sometimes, the problem isn’t what you did, but what someone else did without your knowledge. A compromised server, a hacked website plugin, or even an infected employee’s computer can be used to churn out thousands of malicious emails from your domain. You might not even realize it’s happening until your emails stop landing in the inbox.
Newly registered domains (NRDs) are also under intense scrutiny. Spammers love to register new domains for quick, disposable campaigns, so blacklist operators are naturally suspicious of them. In fact, a recent analysis of over 25.7 million NRDs highlighted how abuse in high-volume registration zones is a key source of blacklisting.
To keep your domain clean, you have to be vigilant. This means avoiding deceptive practices and potential pitfalls like domain masking. Strong security and proper email authentication are your best lines of defense. You can learn more in our guide on what is email authentication to see how these protocols work to protect your domain and build trust with receiving servers.
Your Practical Guide to Blacklist Checking Tools
Alright, let’s get our hands dirty and figure out if your domain has landed on a blacklist. Forget a theoretical overview; this is your practical workflow for a full domain health check. We’re going to turn that nagging worry into a proactive plan.
The best place to start is with a multi-list checker. Think of these as your first line of defense. Instead of checking dozens of blacklists one by one, these tools scan your domain and IPs against hundreds of them in a single go. It’s the quickest way to get a bird’s-eye view of your sender reputation.
A solid, go-to tool for this is MXToolbox. You just pop in your domain name and let it run. The real skill, though, isn’t running the scan—it’s knowing what to do with the results.
Most of the time, domains get blacklisted for a handful of common reasons: a sudden, massive spike in email volume, sending to a poor-quality list full of bad addresses, or your content tripping spam filters.
This really drives home the point that both your technical setup and your marketing practices play a huge role in keeping your sender reputation clean.
Interpreting Your Scan Results
When the results come in, take a breath. Seeing your domain listed somewhere doesn’t automatically mean it’s game over. Not all blacklists carry the same weight; some are minor annoyances, while others are absolute emergencies.
You’ve got to learn to separate the low-impact listings from the major red flags. For instance, being on a small, obscure list might have virtually no effect on your deliverability. But a listing on a heavyweight like Spamhaus? That’s a five-alarm fire. Spamhaus is used by nearly every major mailbox provider, and getting listed there will bring your email delivery to a screeching halt.
Pro Tip: I always tell people to focus on the “big three” first: Spamhaus, Barracuda, and SpamCop. If you’re clean on these, you’re probably in good shape with most major providers. A listing on any of them becomes your immediate top priority.
Once you have your scan results, it’s time to triage. I like to categorize them like this:
- Critical: Listings on major, high-impact blacklists (think Spamhaus DBL, SORBS). These need your immediate attention.
- Warning: Listings on mid-tier or well-known regional blacklists. You should get on these quickly.
- Informational: Listings on tiny, new, or obscure lists. Keep an eye on them, but don’t lose sleep over it.
This tiered approach keeps you from spinning your wheels and helps you put your effort where it will actually make a difference.
Beyond IPs: Checking URI Blacklists
Here’s a classic mistake: focusing only on your server’s IP address. While IP-based blacklists (DNSBLs) are definitely important, many modern anti-spam systems also rely heavily on URI blacklists like SURBL and URIBL.
These lists don’t care about the sending IP. Instead, they track the domain names found inside the body of spam emails. This means your server IP could be squeaky clean, but if your domain (yourcompany.com) keeps showing up in links within spam messages, you’re going to get flagged.
I’ve seen this happen in a few common scenarios:
- Affiliate Marketing Spam: A rogue affiliate is blasting out spam to promote your product, and your domain gets caught in the crossfire.
- Compromised Website: Your site got hacked and is now hosting malicious links or redirecting users to shady places.
- Phishing Attacks: Scammers are using your brand’s good name in their phishing campaigns, and your legitimate domain is mentioned.
Checking these URI-specific lists is a crucial step that far too many people skip. It provides a much more complete picture of how your domain is perceived out in the wild.
Don’t Forget All Your Sending IPs
Another easy-to-miss detail is failing to check all of your sending IP addresses. Most businesses send email from several different places, and each one has its own, separate reputation. Forgetting one is like locking your front door but leaving the garage wide open.
Take a minute to map out every potential source of email from your domain:
- Your Primary Mail Server: The server handling your day-to-day corporate email (e.g., Google Workspace, Microsoft 365).
- Marketing Automation Platforms: Services like Mailchimp or HubSpot sending your newsletters.
- Transactional Email Services: Platforms like SendGrid or Postmark handling password resets and order confirmations.
- Website Contact Forms: The server that powers your “Contact Us” page might be sending email notifications.
Each of these systems could be using a different IP address. A blacklist on your transactional service’s IP could block critical receipts from reaching customers, even if your marketing campaigns are delivering just fine. You need to gather every single IP that sends on behalf of your domain and check them all.
To make this less of a headache, a dedicated email blacklist checker can run these checks across multiple IPs and lists at the same time. After going through this process, you’ll have a crystal-clear understanding of your domain’s status and a solid plan for what to do next.
How to Get Your Domain Delisted
Finding your domain on a blacklist is a gut-wrenching moment. I’ve been there. It feels like a major setback, but it’s not a permanent mark against you. Think of it as a critical alert—a red flag from the internet community that something is seriously wrong with your email security or sending practices.
The good news? Every reputable blacklist has a clear, free process for removal. The catch is that you can’t just ask to be taken off. You have to prove you’ve fixed the problem first.
First, Find and Fix the Root Cause
Before you even think about sending a delisting request, you need to become an investigator. Rushing to ask for removal without fixing the underlying issue is a surefire way to get ignored or, worse, re-listed almost immediately. Repeated listings make it exponentially harder to get delisted in the future.
Blacklist operators need to see that you’ve identified and completely resolved whatever landed you on their list.

So, where do you start looking? Most listings boil down to a handful of common culprits. A compromised server or an employee’s email account being used to blast out spam is a big one. Another is simply poor email list management—sending to old, unverified lists is a fast track to hitting a spam trap.
Key Insight: Don’t just assume you know what the problem is. A thorough investigation is non-negotiable. I once worked with a company that was convinced their marketing emails were the problem. After a deep dive, we discovered a misconfigured contact form on their website was being exploited by bots to send thousands of spam messages a day. They never would have found it without looking beyond the obvious.
Use this checklist to guide your investigation:
- Scan Everything for Malware: Check your website, servers, and all connected employee devices for any sign of a breach.
- Audit Your Email Lists: When did you last clean your lists? Are you sending to old, inactive, or (never do this) purchased email addresses?
- Verify Authentication Records: Double-check that your SPF, DKIM, and DMARC records are correctly set up. Any misconfiguration can make your legitimate mail look highly suspicious.
- Analyze Recent Email Campaigns: Look for sudden spikes in sending volume or campaigns with unusually high bounce or complaint rates.
Once you find the problem—whether it’s securing a server, scrubbing your lists, or fixing DNS records—you’ve earned your ticket to request delisting.
Crafting an Effective Delisting Request
With the issue resolved, you’re ready to contact the blacklist operator. Go directly to their website; they’ll have a specific form or process to follow. Whatever you do, never pay a third-party service that promises to get you delisted. Reputable operators like Spamhaus provide this service for free.
Think of your delisting request as your one chance to make your case. Be professional, honest, and to the point. Your goal is to convince them you’ve taken this seriously and have put measures in place to prevent a repeat performance. A vague message like “Please remove us” will be instantly dismissed.
Here’s what a strong delisting request includes:
- Acknowledge the Problem: Start by showing you understand why you were listed. This proves you’ve done your homework.
- Detail Your Fixes: This is the most critical part. Explain exactly what you did. For instance, “We found a compromised user account. We have reset all company passwords and mandated two-factor authentication.”
- Outline Your Prevention Plan: Briefly describe how you’ll stop this from happening again. This could be something like, “We have implemented a new list hygiene policy and subscribed to a security monitoring service.”
The more transparent and detailed you are, the better your chances of a quick, successful removal.
What to Do After You Are Delisted
Getting the “delisted” notification is a huge relief, but you’re not out of the woods yet. Your sender reputation is fragile, and mailbox providers will be watching your sending activity like a hawk.
The last thing you want is to fall back into old habits and get re-listed. To rebuild trust, you need to “warm up” your domain and IPs again. Don’t just fire up the engine and go back to sending massive campaigns.
Start small. Send a low-volume campaign to your most engaged subscribers—the people who open and click your emails regularly. This positive engagement shows providers that your emails are wanted. Over the next few days and weeks, gradually increase your volume until you’re back to your normal sending levels. This careful, methodical approach is the key to rebuilding a healthy sender reputation that lasts.
Building a Proactive Monitoring Strategy
Getting your domain delisted is just a fix. It’s a necessary skill, sure, but the real goal is to never end up on a blacklist in the first place. This means shifting your mindset away from damage control and toward a proactive, always-on monitoring strategy that keeps your sender reputation clean and your deliverability high.
Instead of scrambling to check blacklists only when you notice your open rates have tanked, a proactive approach involves setting up systems that watch your domain and sending IPs around the clock. This turns blacklist management from a stressful, manual headache into a smart, integrated part of your daily operations.
Setting Up Continuous Monitoring
The core of any proactive strategy is automated, regular checks. Manually running scans is a massive time sink and, frankly, not very effective—you only find a problem after it’s already derailed a campaign. Automated monitoring tools, on the other hand, can ping you about a new listing within minutes, giving you a huge head start on fixing it.
This early warning system is invaluable. It lets you pause campaigns, figure out what went wrong, and start the delisting process before a small hiccup snowballs into a full-blown deliverability crisis. Think of it as a smoke detector for your sender reputation; it goes off at the first sign of trouble.
As part of a holistic approach to safeguarding your online presence, it’s also crucial to understand how to maintain strong domain authority, which contributes to your overall digital reputation.
A proactive monitoring setup isn’t just about dodging blacklists. It’s about protecting the long-term health and credibility of your domain. Consistent vigilance builds trust with mailbox providers, and that trust directly translates to better inbox placement and higher engagement.
Effective monitoring has to cover your entire email ecosystem, not just your main domain. You need a complete picture.
- All Sending IPs: Keep a running list of every IP address that sends email for you. This includes your marketing platform, transactional email service, and even your website’s contact form server.
- All Sending Domains: Don’t forget subdomains used for specific campaigns or even brand-new domains you’ve just acquired.
- Alerting Thresholds: Set up your monitoring tools to fire off immediate alerts for major blacklists like Spamhaus but maybe just a daily summary for less critical ones.
By casting this wide monitoring net, you eliminate the blind spots that could otherwise tank your sender reputation.
Automating Blacklist Checks with APIs
For more technical teams, the next level of proactive management is plugging blacklist checks directly into your existing workflows using an API. This empowers developers, SDRs, and marketing ops to automate reputation checks at key moments, making domain health a shared responsibility across the company.
A good API lets you build custom solutions that fit your exact needs. The possibilities are pretty much endless.
Real-World Automation Example Imagine a workflow for a sales team about to launch a big cold outreach campaign.
- Pre-Flight Check: Right before the campaign is scheduled to go live, an automated script uses a blacklist-checking API to scan the sending domain and all its IPs.
- Status Check: The API returns a simple “clean” or “listed” status.
- Go/No-Go Decision: If the status is “clean,” the campaign is sent. If any listings are found, the system automatically pauses the launch and pings the ops team to investigate.
This simple, automated workflow prevents a potentially reputation-damaging send and turns what could have been a disaster into a manageable task. For a deeper dive into maintaining your domain’s health, check out our guide on performing a complete domain name health check.
According to a recent analysis by ICANN, Reputation Block Lists (RBLs) are a core component of security systems worldwide, used to block domains associated with spam and malware. Regular checks against key DNSBLs like Spamhaus and Barracuda can prevent over 90% of deliverability problems. Discover more insights about this RBL analysis on icann.org. This kind of automation protects your investment in every single campaign.
Common Questions (and Straight Answers) About Domain Blacklists
Even when you think you have everything under control, questions pop up. Let’s be honest, the world of domain blacklists can feel like a maze. So, I’ve put together some quick, clear answers to the most common questions I hear from marketers, developers, and business owners just trying to get their emails delivered.
Think of this as your field guide to managing your sender reputation. We’ll cut through the jargon and get straight to the practical advice you need.
How Long Does It Take to Get a Domain Delisted?
There’s no magic number here. The time it takes to get off a blacklist really depends on two things: which list you landed on and how serious the infraction was.
For a minor listing on a smaller, automated list, the process can be surprisingly quick. Once you’ve cleaned up the mess and submitted your delisting request, you could be in the clear within 24 to 48 hours. These lists often run on automated systems that simply re-scan your domain or IP to see if the problem is gone.
But if you get flagged by a heavyweight like Spamhaus, you need to prepare for a more involved process. They don’t just take your word for it. They need solid proof that you’ve not only fixed the root cause but also put new safeguards in place to stop it from happening again. This can mean a bit of back-and-forth communication that might stretch over several days. The trick is to be meticulous with your fix and crystal clear in your delisting request.
Does Using a Shared IP Address Increase My Blacklisting Risk?
In a word: absolutely. When you’re using a shared IP, you’re living in the same digital “apartment building” as dozens or even hundreds of other senders. The problem is, you can’t control your neighbors. This is often called the “bad neighbor effect.”
If another company on your IP sends a spammy campaign or gets their account compromised, the entire IP address can get blacklisted. When that happens, your perfectly legitimate emails get blocked right along with the trash, and it’s completely out of your control.
For any business serious about email, investing in a dedicated IP address is one of the smartest decisions you can make. It gives you full ownership of your sender reputation, completely separating you from the actions of others.
If a dedicated IP just isn’t in the budget right now, make sure you’re working with a top-tier email service provider that aggressively monitors its shared IPs for any sign of trouble.
Can a Brand New Domain Be Blacklisted?
It sounds crazy, but yes. This happens far more often than people realize. How can a domain with zero sending history possibly be considered a threat? It all comes down to the predictive intelligence used by the big blacklist operators.
Sophisticated lists, like the Spamhaus Domain Block List (DBL), don’t just sit around waiting for spam to hit their traps. They proactively hunt for and list newly registered domains that have the hallmarks of a spam or phishing operation. Red flags they look for include:
- Suspicious naming patterns (think
paypal-secure-login-update.com) - Registration through a provider known to be a haven for bad actors
- Domain names that are common misspellings of well-known brands
This proactive approach is all about stopping spammers who churn through new domains for their campaigns. It’s a powerful reminder to always check a brand-new domain’s reputation before you send your first email.
Will Paying a Service Get Me Delisted Faster?
Almost certainly not. This is a common myth, and falling for it is an easy way to waste money. The major, reputable blacklist operators—Spamhaus, SpamCop, Barracuda—all provide free and very clear delisting procedures right on their websites.
Those services that charge a fee to “expedite” your removal simply don’t have a secret handshake or a special backdoor. They’re just middlemen, filling out the exact same forms you can access yourself.
The only thing that speeds up the delisting process is fixing the root cause of the problem and then submitting a well-documented, honest request. Save your cash and put that energy into a thorough audit of your practices and a compelling appeal to the blacklist operator. Your own diligence is what gets you delisted, not a third-party payment.
Ready to stop worrying about blacklists and start improving your deliverability? Truelist offers unlimited email validation to keep your lists clean, reduce bounce rates, and protect your sender reputation. Validate your first list for free today at https://truelist.io and see the difference a clean list can make.