Setting up Outbound
Paying for Outbound creates your subscription, but it doesn’t register anything by itself. Nothing is registered and nothing sends until you finish setup: registrant details, a domain, and a mailbox on that domain.
Starting setup
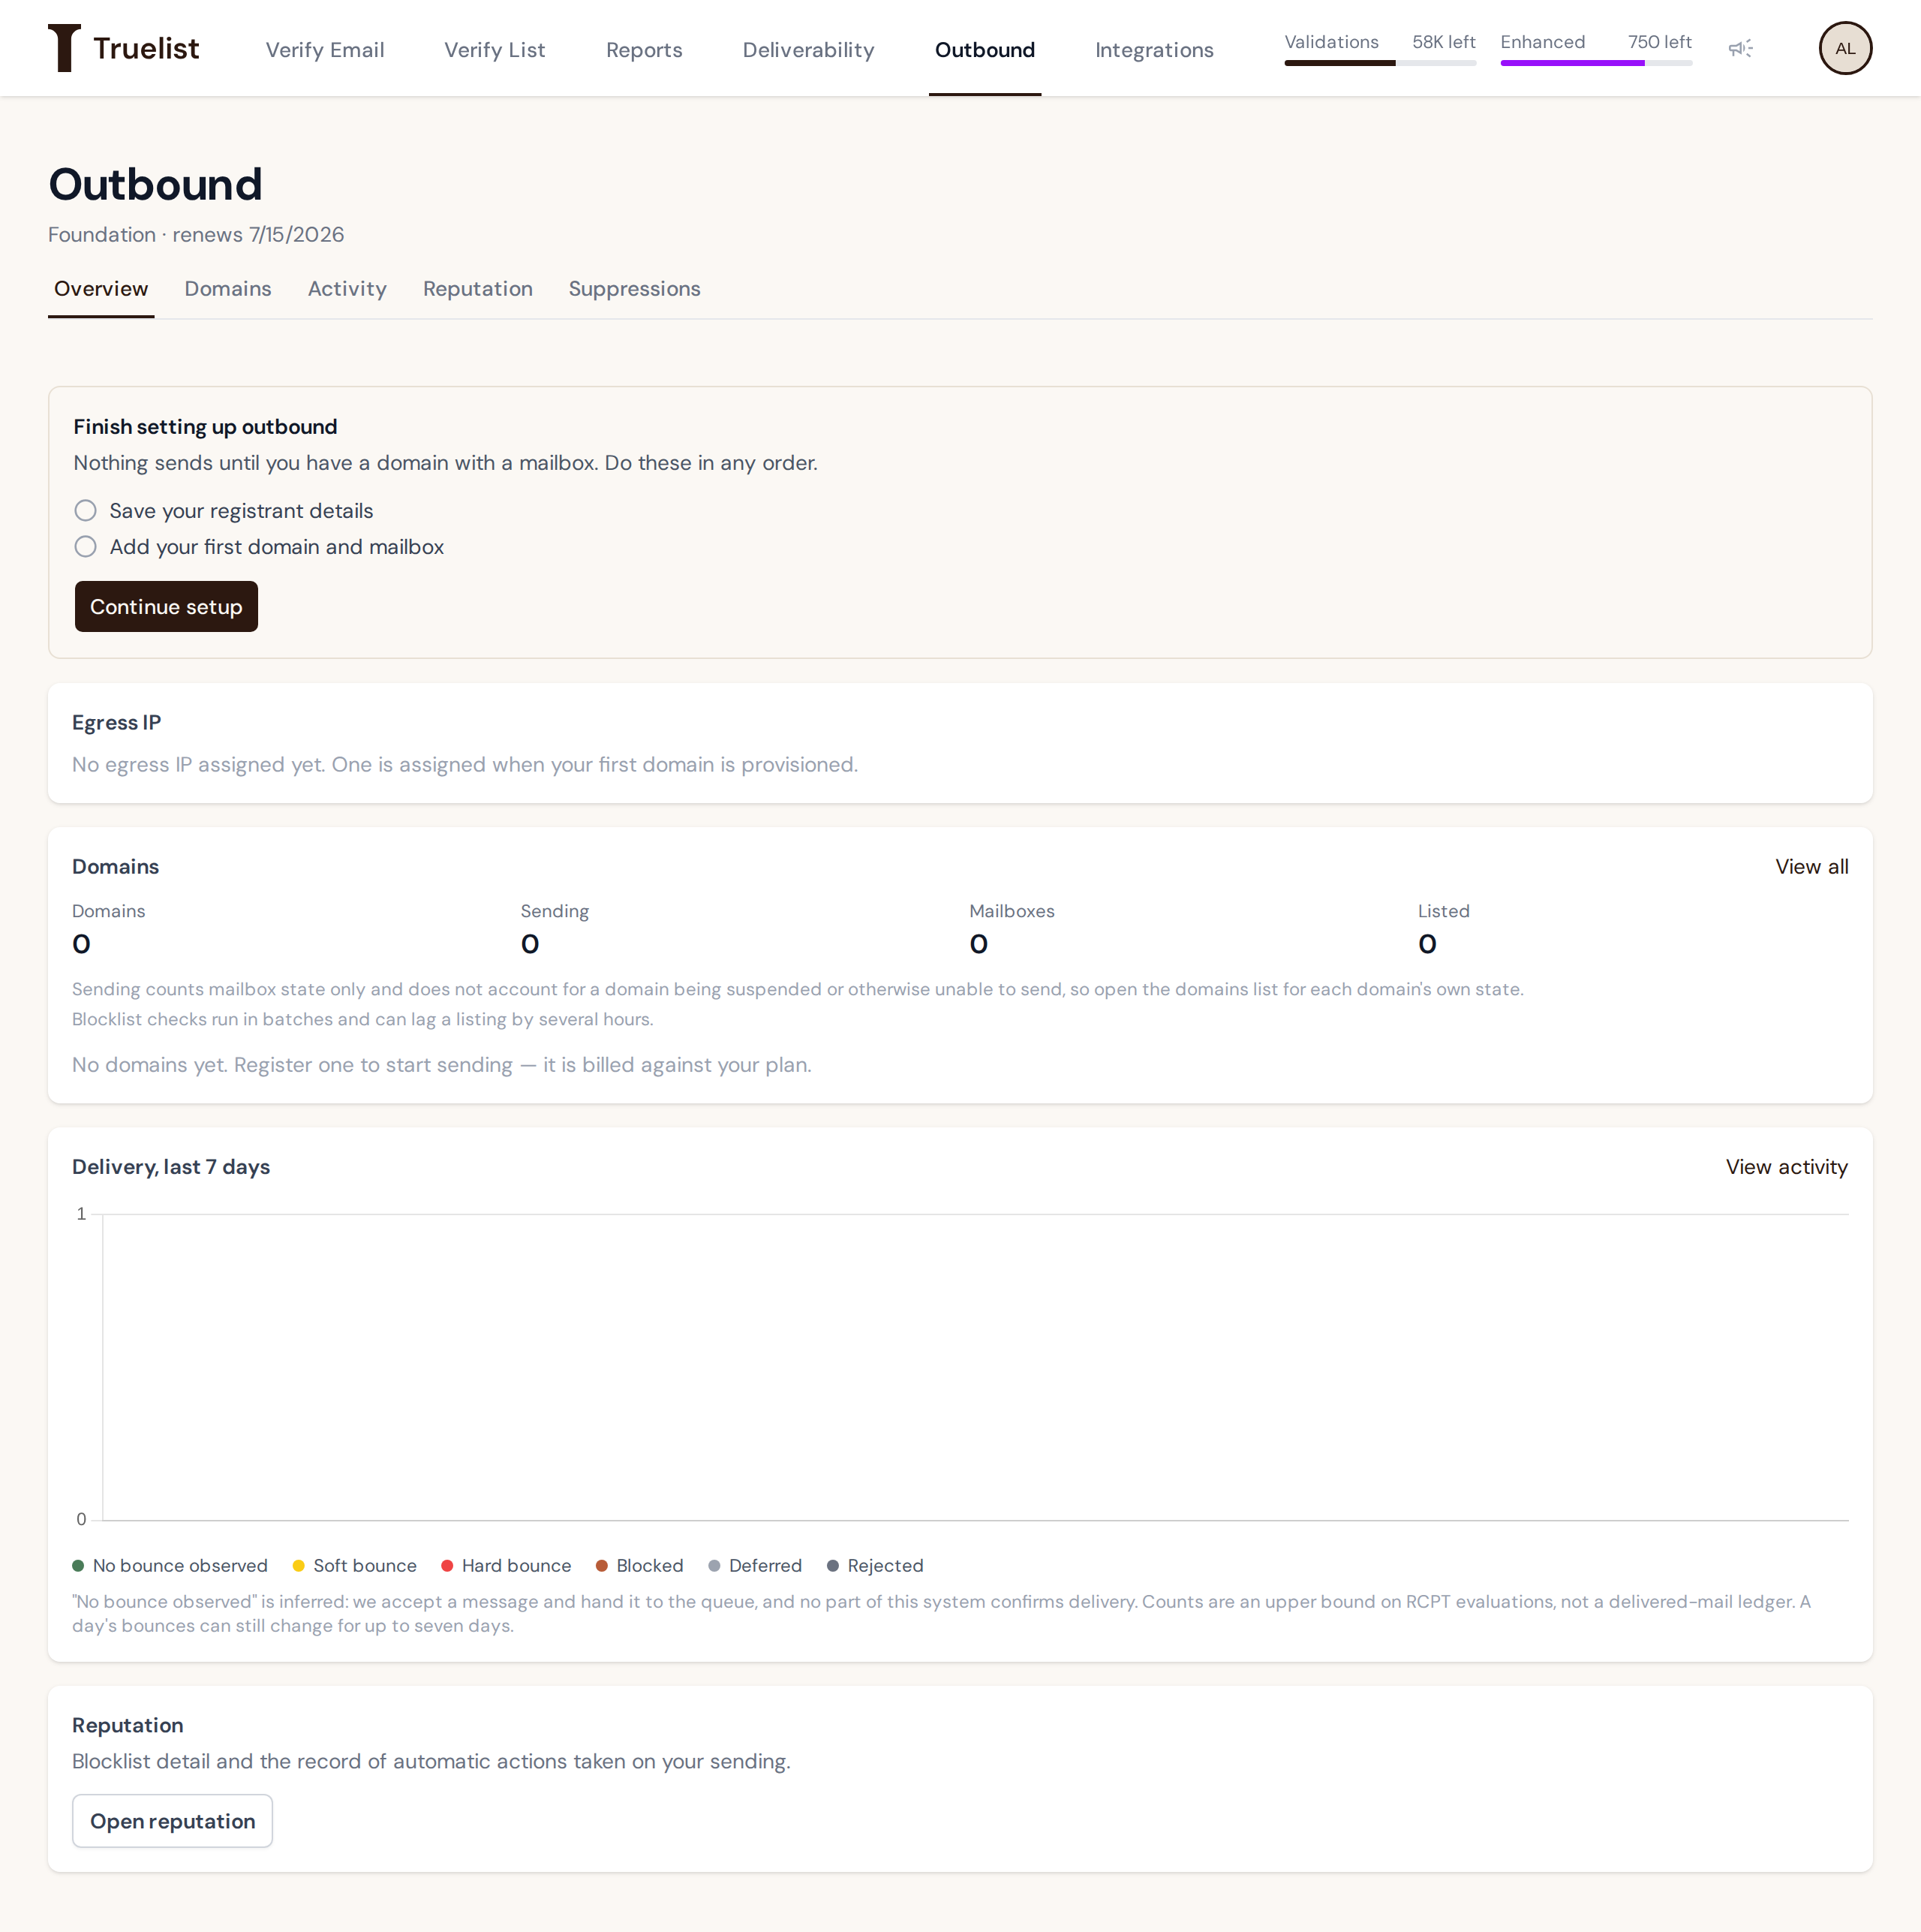
After payment, the Outbound overview shows a checklist: “Finish setting up outbound.” It lists the steps you still need to do and a “Continue setup” button that takes you into the setup flow.
The three steps
Setup has three steps:
- Registrant details — the contact information used to register your domains.
- Domain — the domain name your mailbox will send from.
- Mailbox — the mailbox address and display name recipients see.
You can do these in any order, and you can leave and come back. If you leave before finishing, setup reopens on the first step you haven’t finished yet.
What saves when
- Registrant details save when you click Save and continue. Once you save them, they’re stored on your account and used for every domain you register — you don’t enter them again.
- The domain and its mailbox save together, only when you click Register domain on step 3. If you type a domain name on step 2 and leave the page without finishing step 3, that domain name is not saved — you’ll need to type it again.
Note
Nothing sends until a domain with a mailbox exists. Saving registrant details alone, or typing a domain name without registering it, doesn’t start anything sending.
Step 1: Registrant details
Domains are registered in your name, and the registrar requires real contact details for the owner of the domain. You enter these once, and every domain you register afterward uses the same details — you won’t be asked again when you add more domains later.
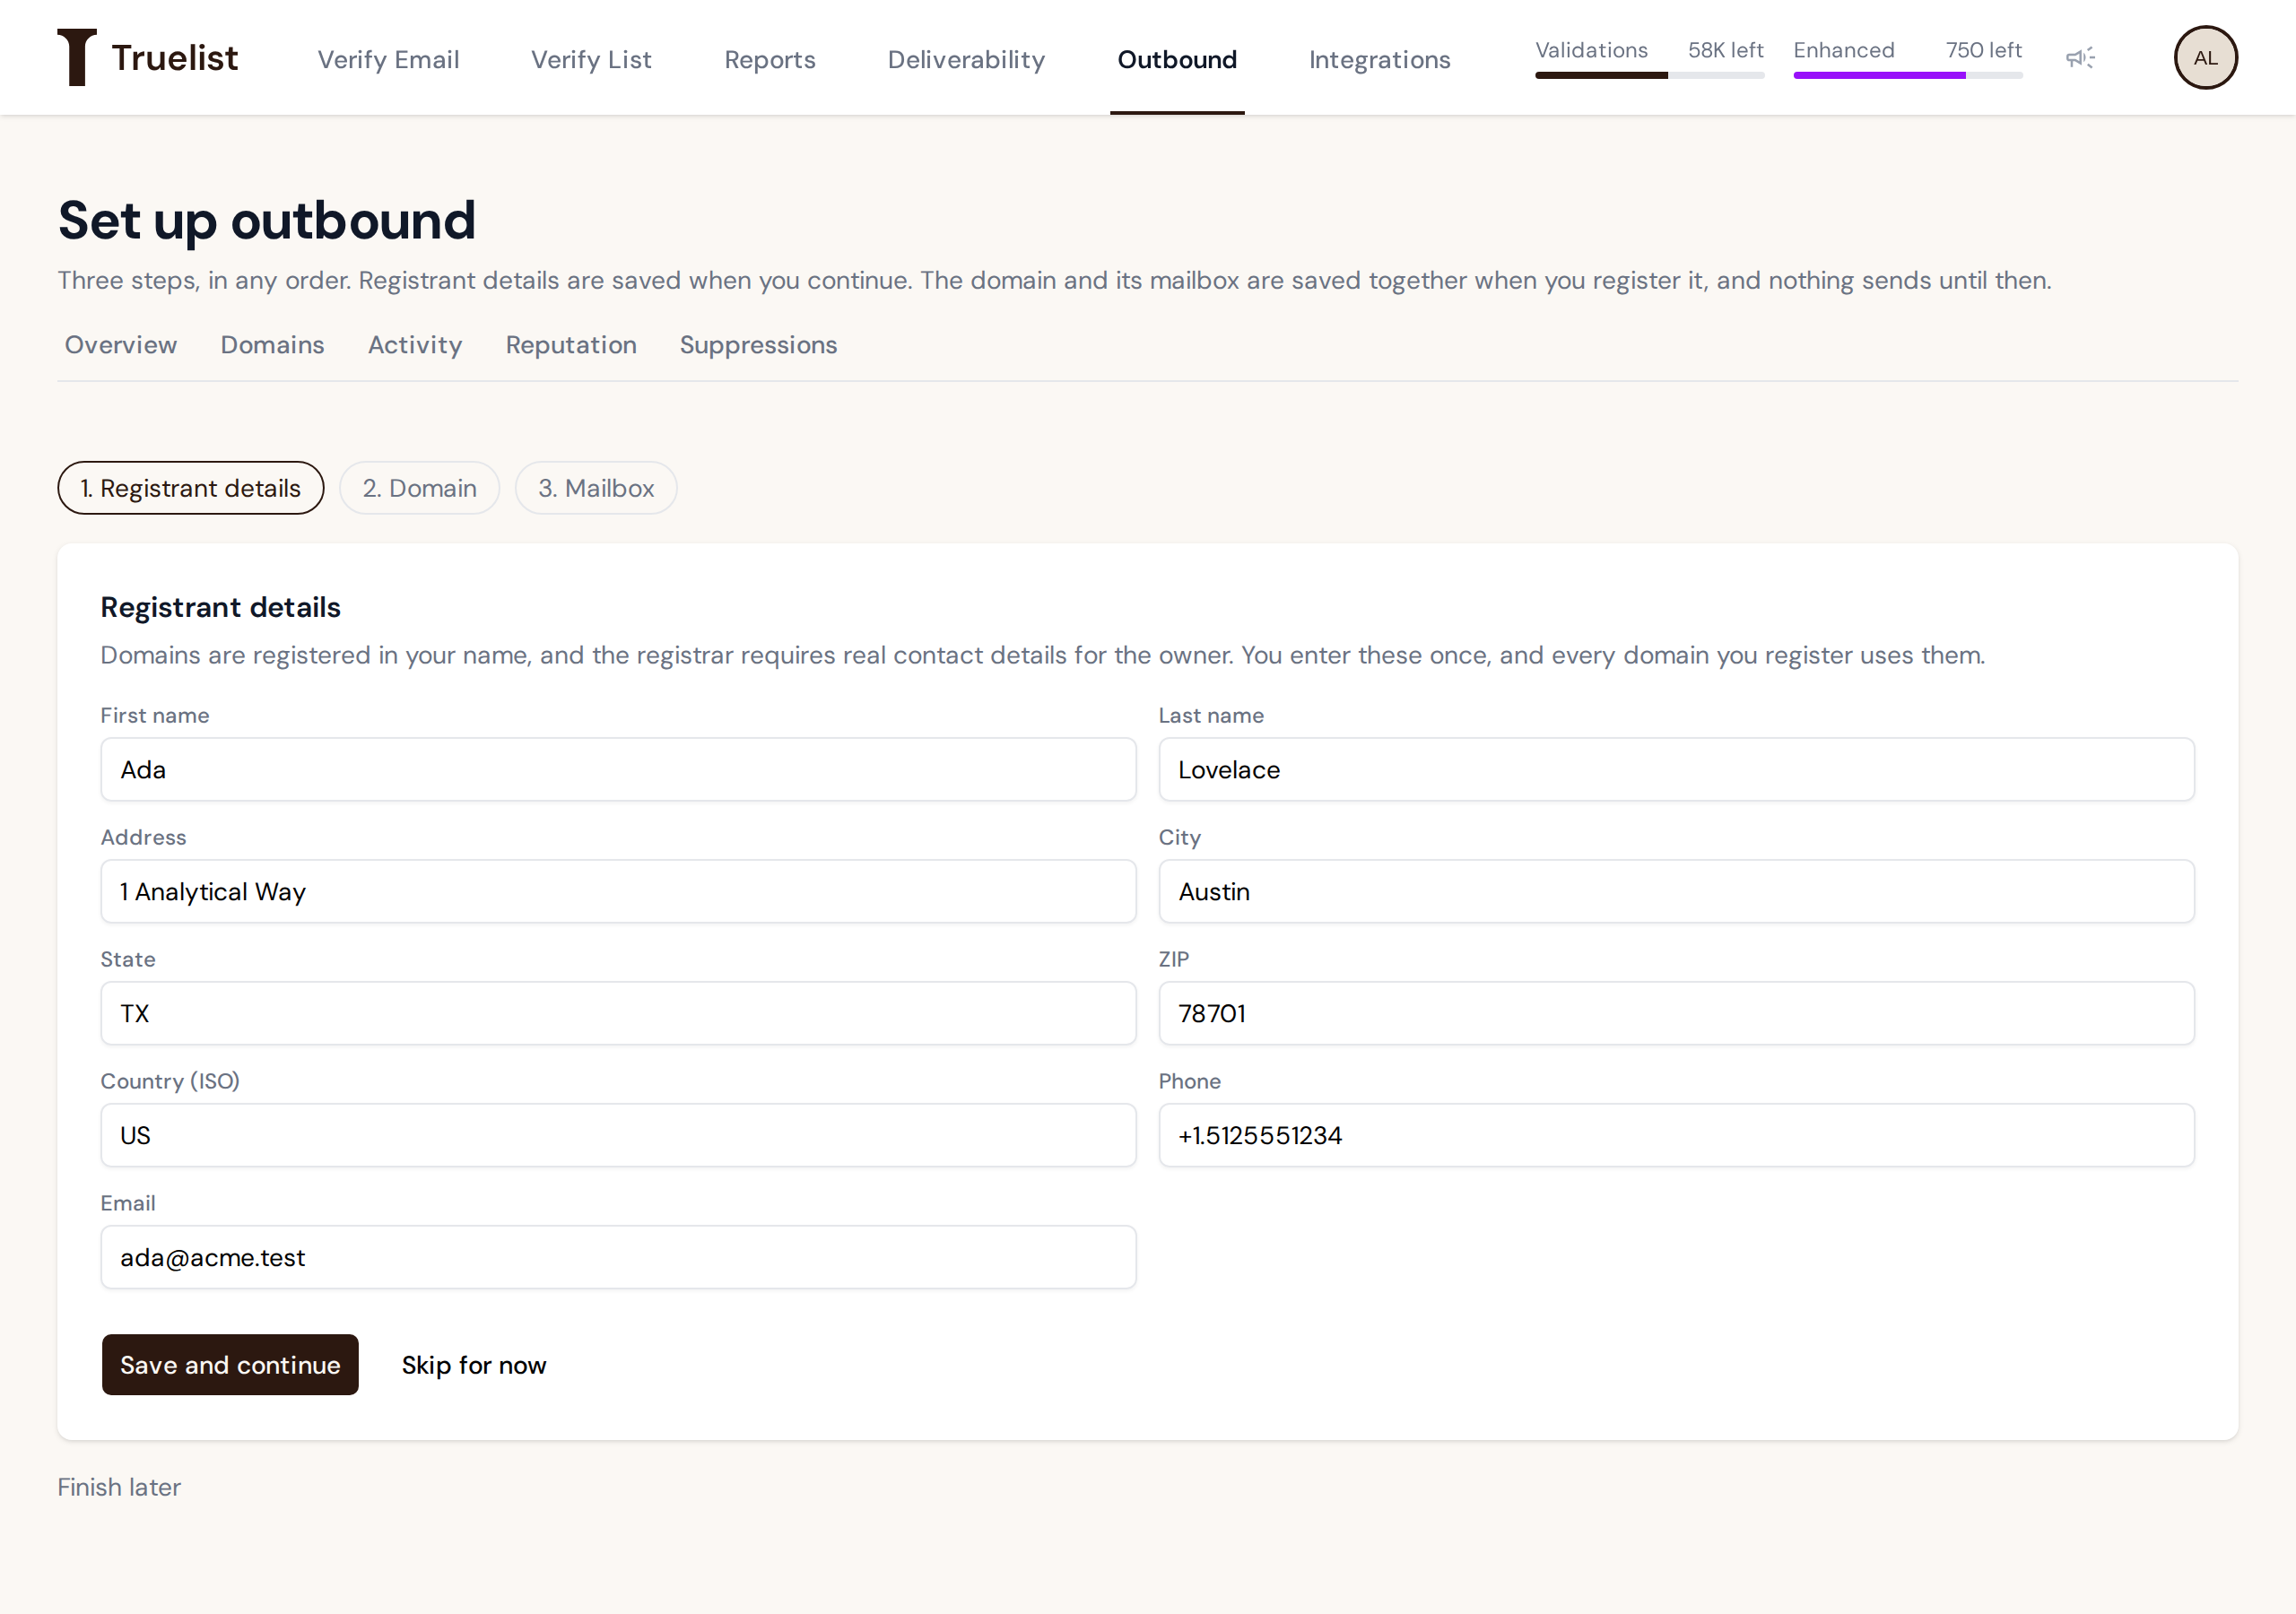
Fields:
| Field | Notes |
|---|---|
| First name | |
| Last name | |
| Address | |
| City | |
| State | |
| ZIP | |
| Country (ISO) | Two-letter country code, e.g. US |
| Phone | See format below |
Phone format: phone numbers must look like +1.5125551234 — a +, the country code, a period,
then the local number with no other punctuation or spaces. For example, a US number is
+1.5125551234. Setup won’t save any other format: it shows “Phone must look like
+1.5125551234.”
You can click Skip for now to come back to this step later. You won’t be able to register a domain, though, until your registrant details are saved — domain registration needs them.
Step 2: Domain
The domain is what your mailbox sends from. It’s registered in your name using the registrant details from step 1.
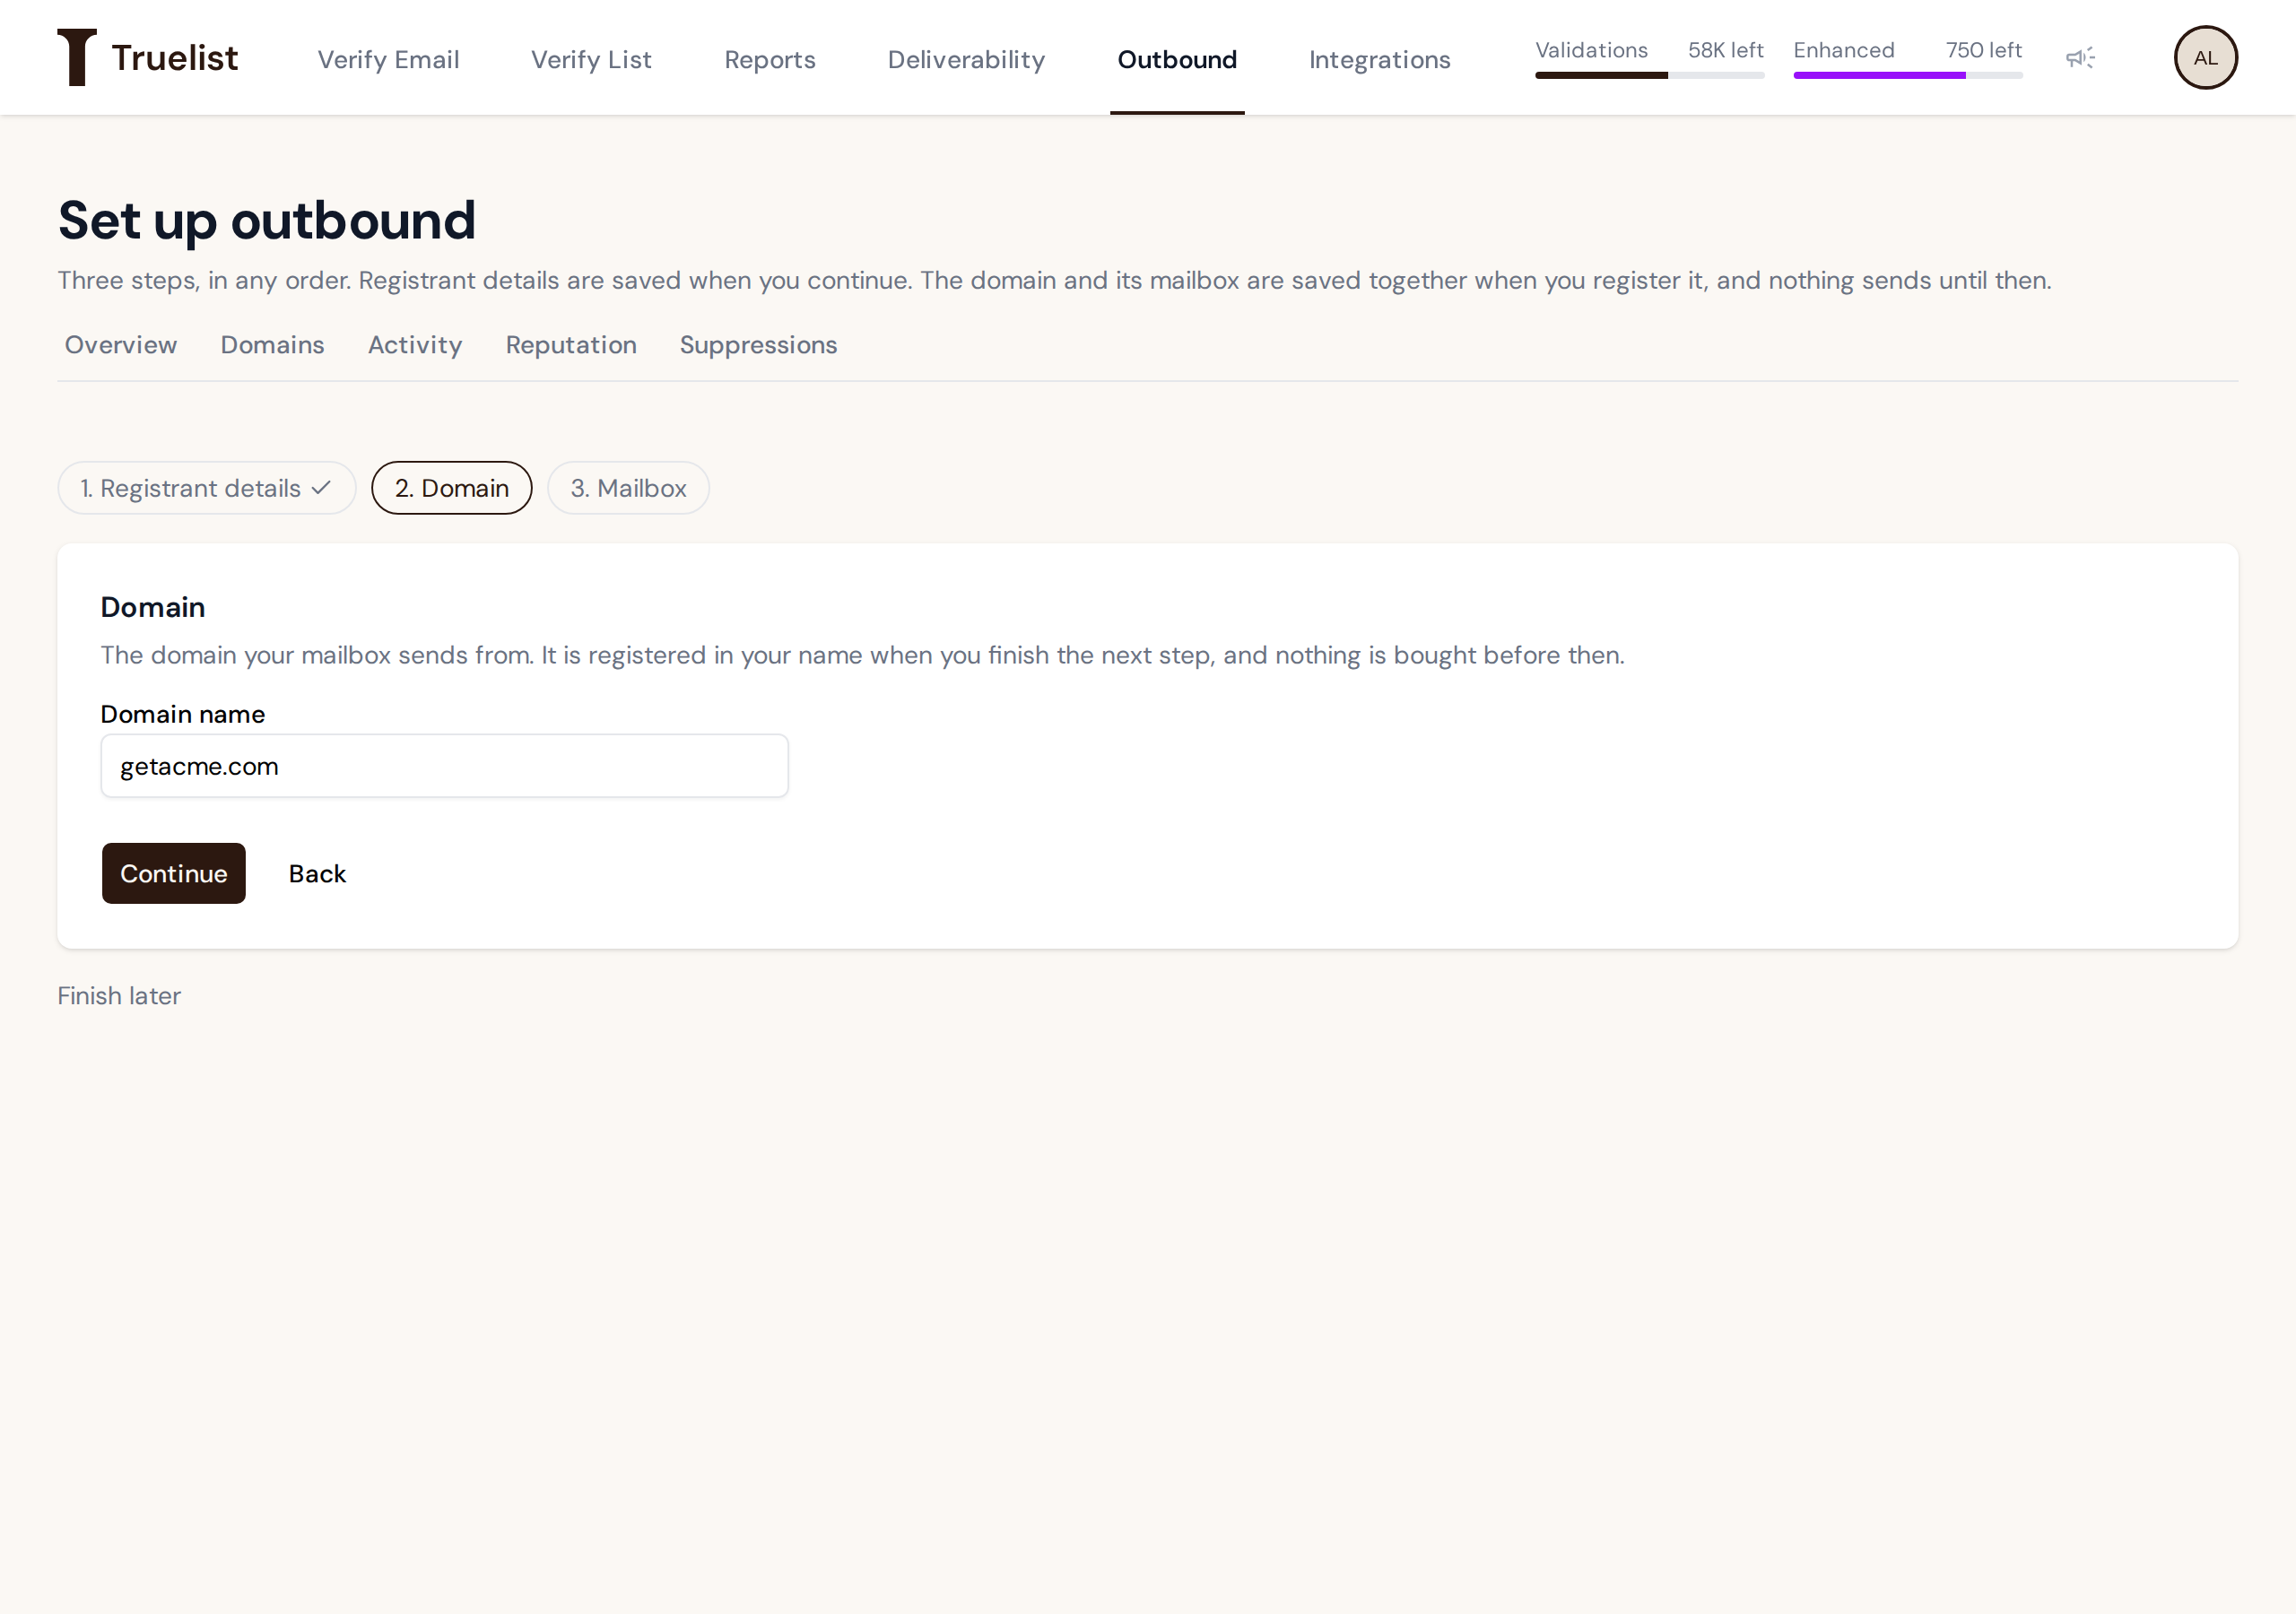
Enter the domain name you want to register (for example, getacme.com). Domain names must be in
standard form — lowercase letters, digits, hyphens, and dots, ending in a valid extension (like
.com or .net).
Nothing is bought at this step. The domain isn’t registered, and you aren’t charged anything beyond your subscription, until you finish step 3 and click Register domain.
Step 3: Mailbox
The mailbox is what recipients actually see when your sequencer sends through it: the address
(local-part@yourdomain.com) and a display name.
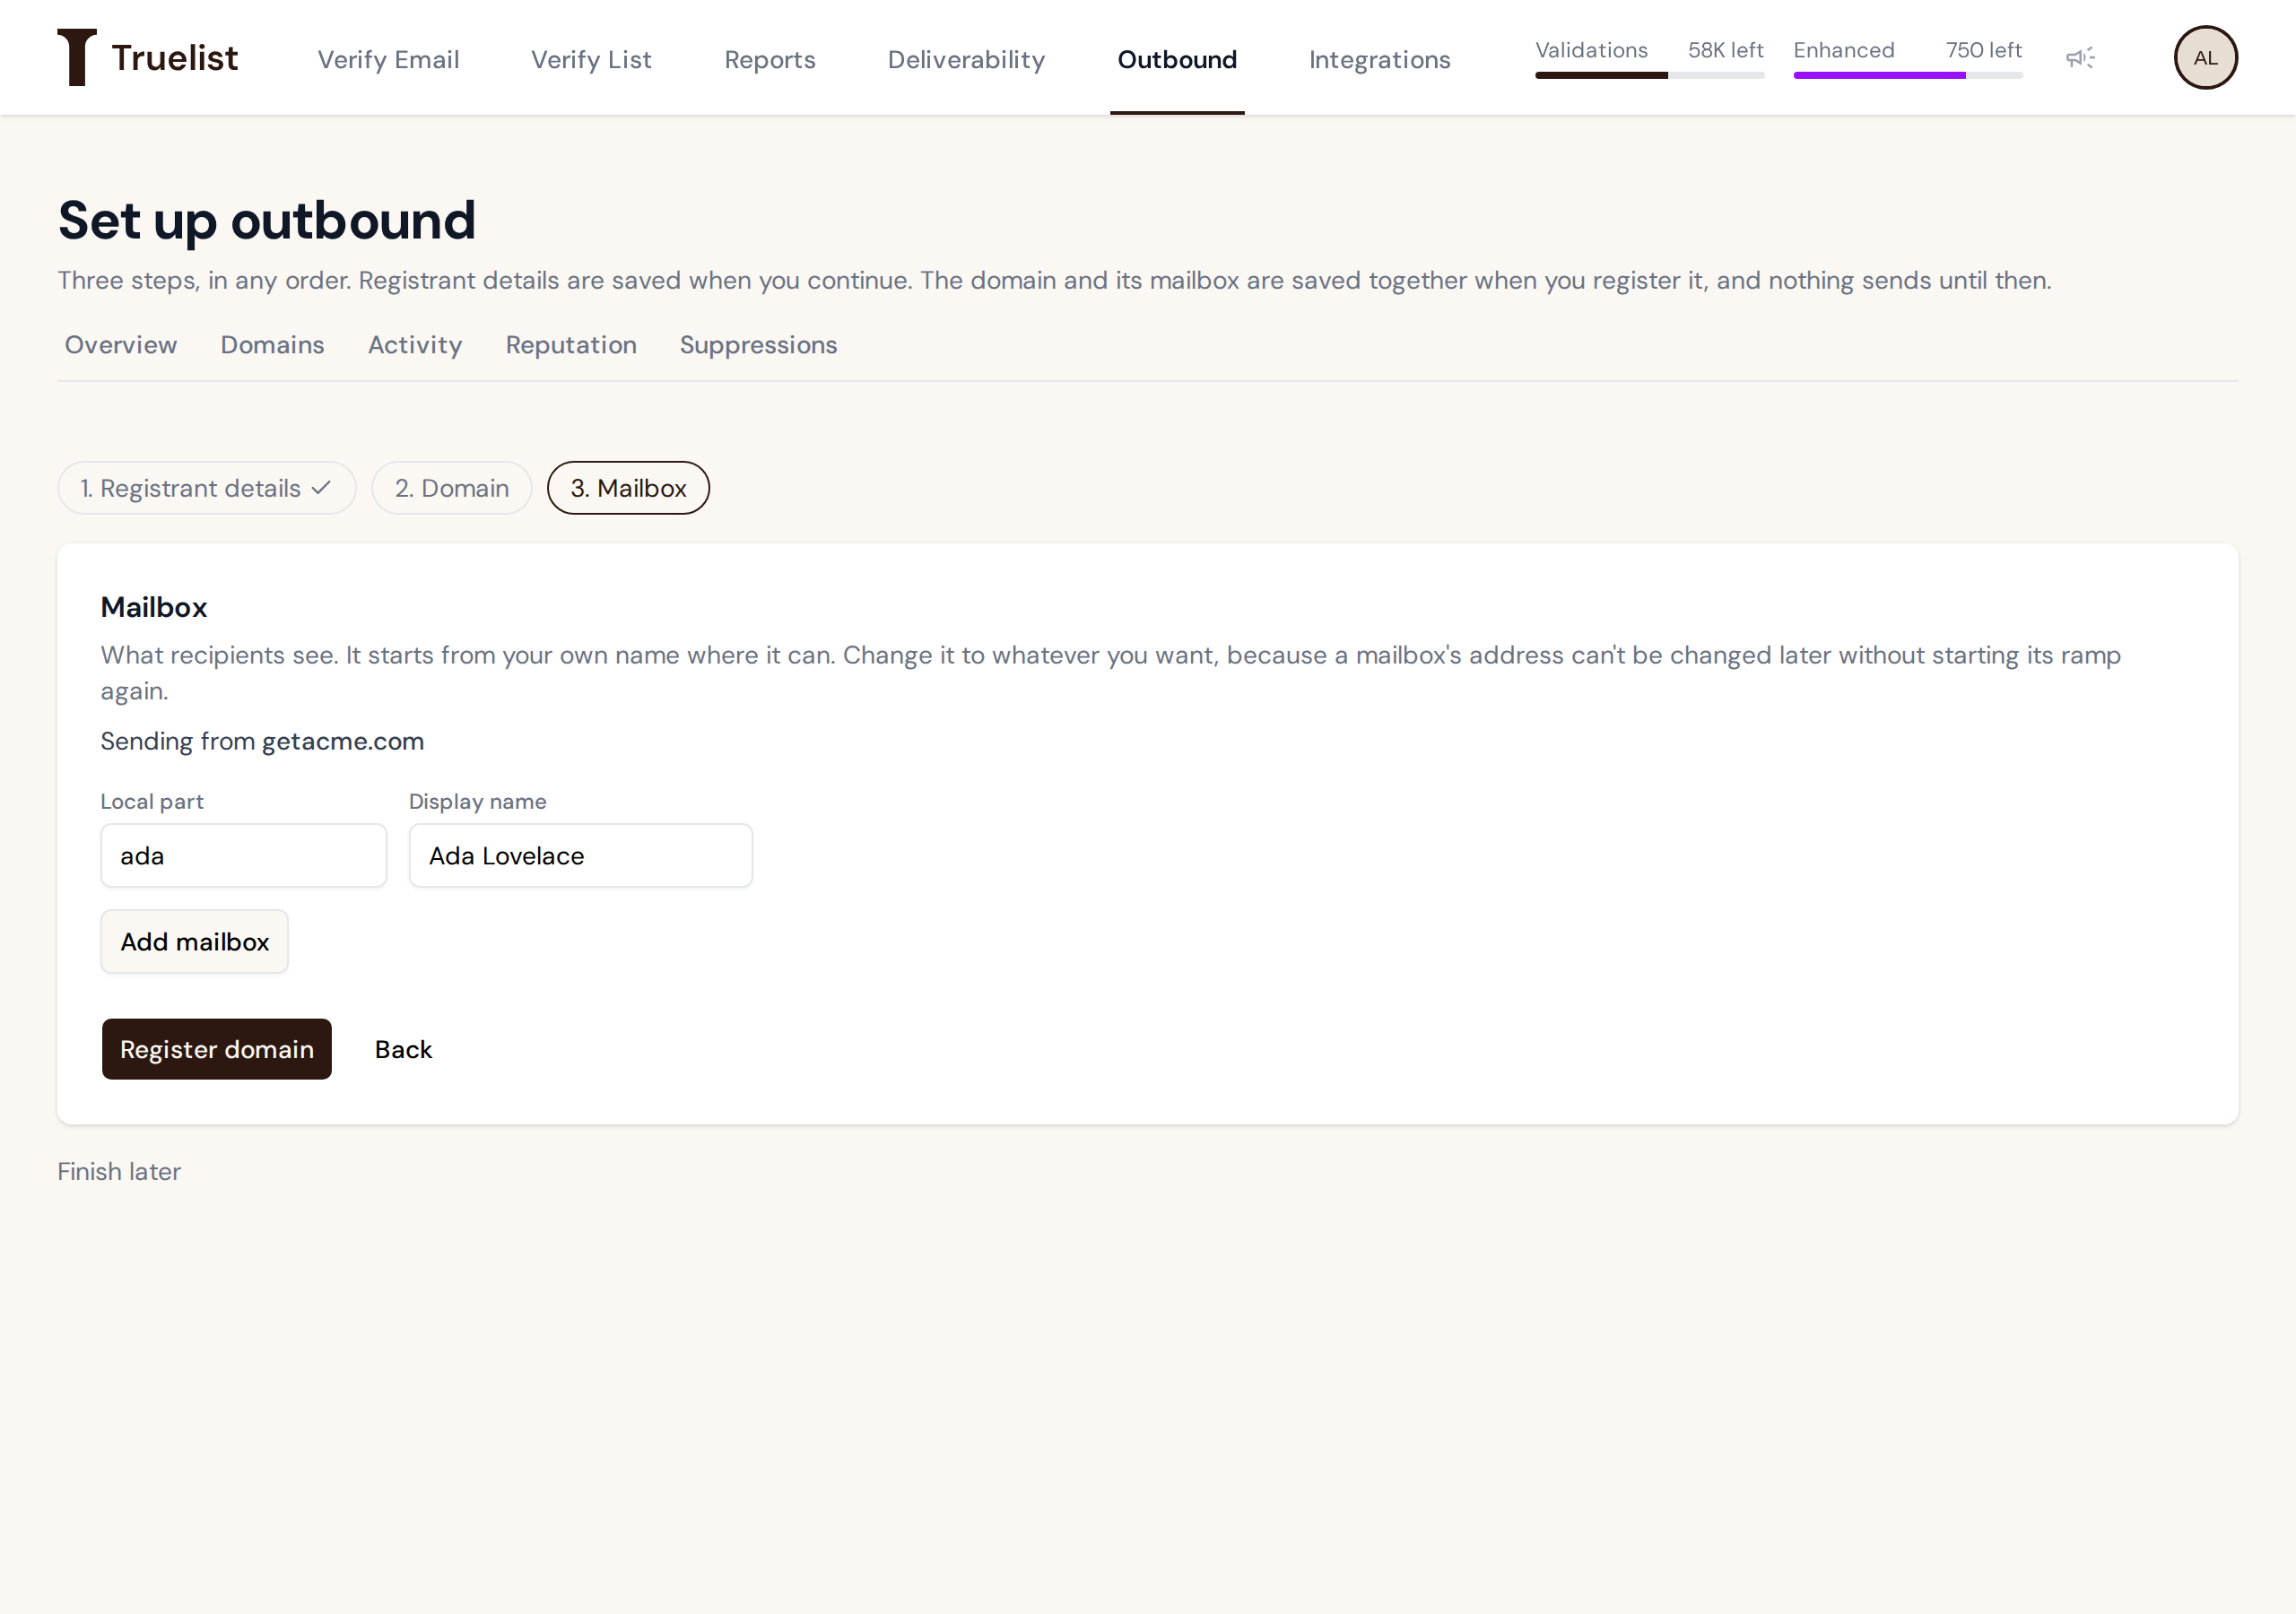
Local part is the part of the address before the @. It must:
- use only lowercase letters, digits, periods (
.), underscores (_), and hyphens (-) - start with a letter or a digit
Truelist suggests a local part for you, but never invents one. It tries, in order:
- The first word of your name on your Truelist account.
- If that doesn’t work, the part of your account email before any
+(sosarah+truelist@gmail.comsuggestssarah). - If neither gives a usable value, the field is left empty for you to fill in.
You can change the suggestion to anything you want, as long as it follows the local-part rules above.
Display name is the name recipients see next to the address, for example “Ada Lovelace.”
You can add more than one mailbox at this step, up to the number your plan includes per domain (3 on Foundation, 6 on Dedicated). Use Add mailbox to add another.
Warning
Choose each mailbox address carefully. A mailbox’s address can’t be changed later, and you can’t add mailboxes to a domain after it’s registered. The only way to get a different address is to register another domain (it counts toward your plan’s domain limit) with the new mailbox on it. That mailbox starts the ramp from day 1.
When you’re ready, click Register domain. This registers the domain and creates the mailbox(es) together in one step.
After you register
Once you click Register domain, the domain enters the registering state. It isn’t live yet —
registration usually takes a few minutes, and you don’t need to keep the page open while it
finishes.
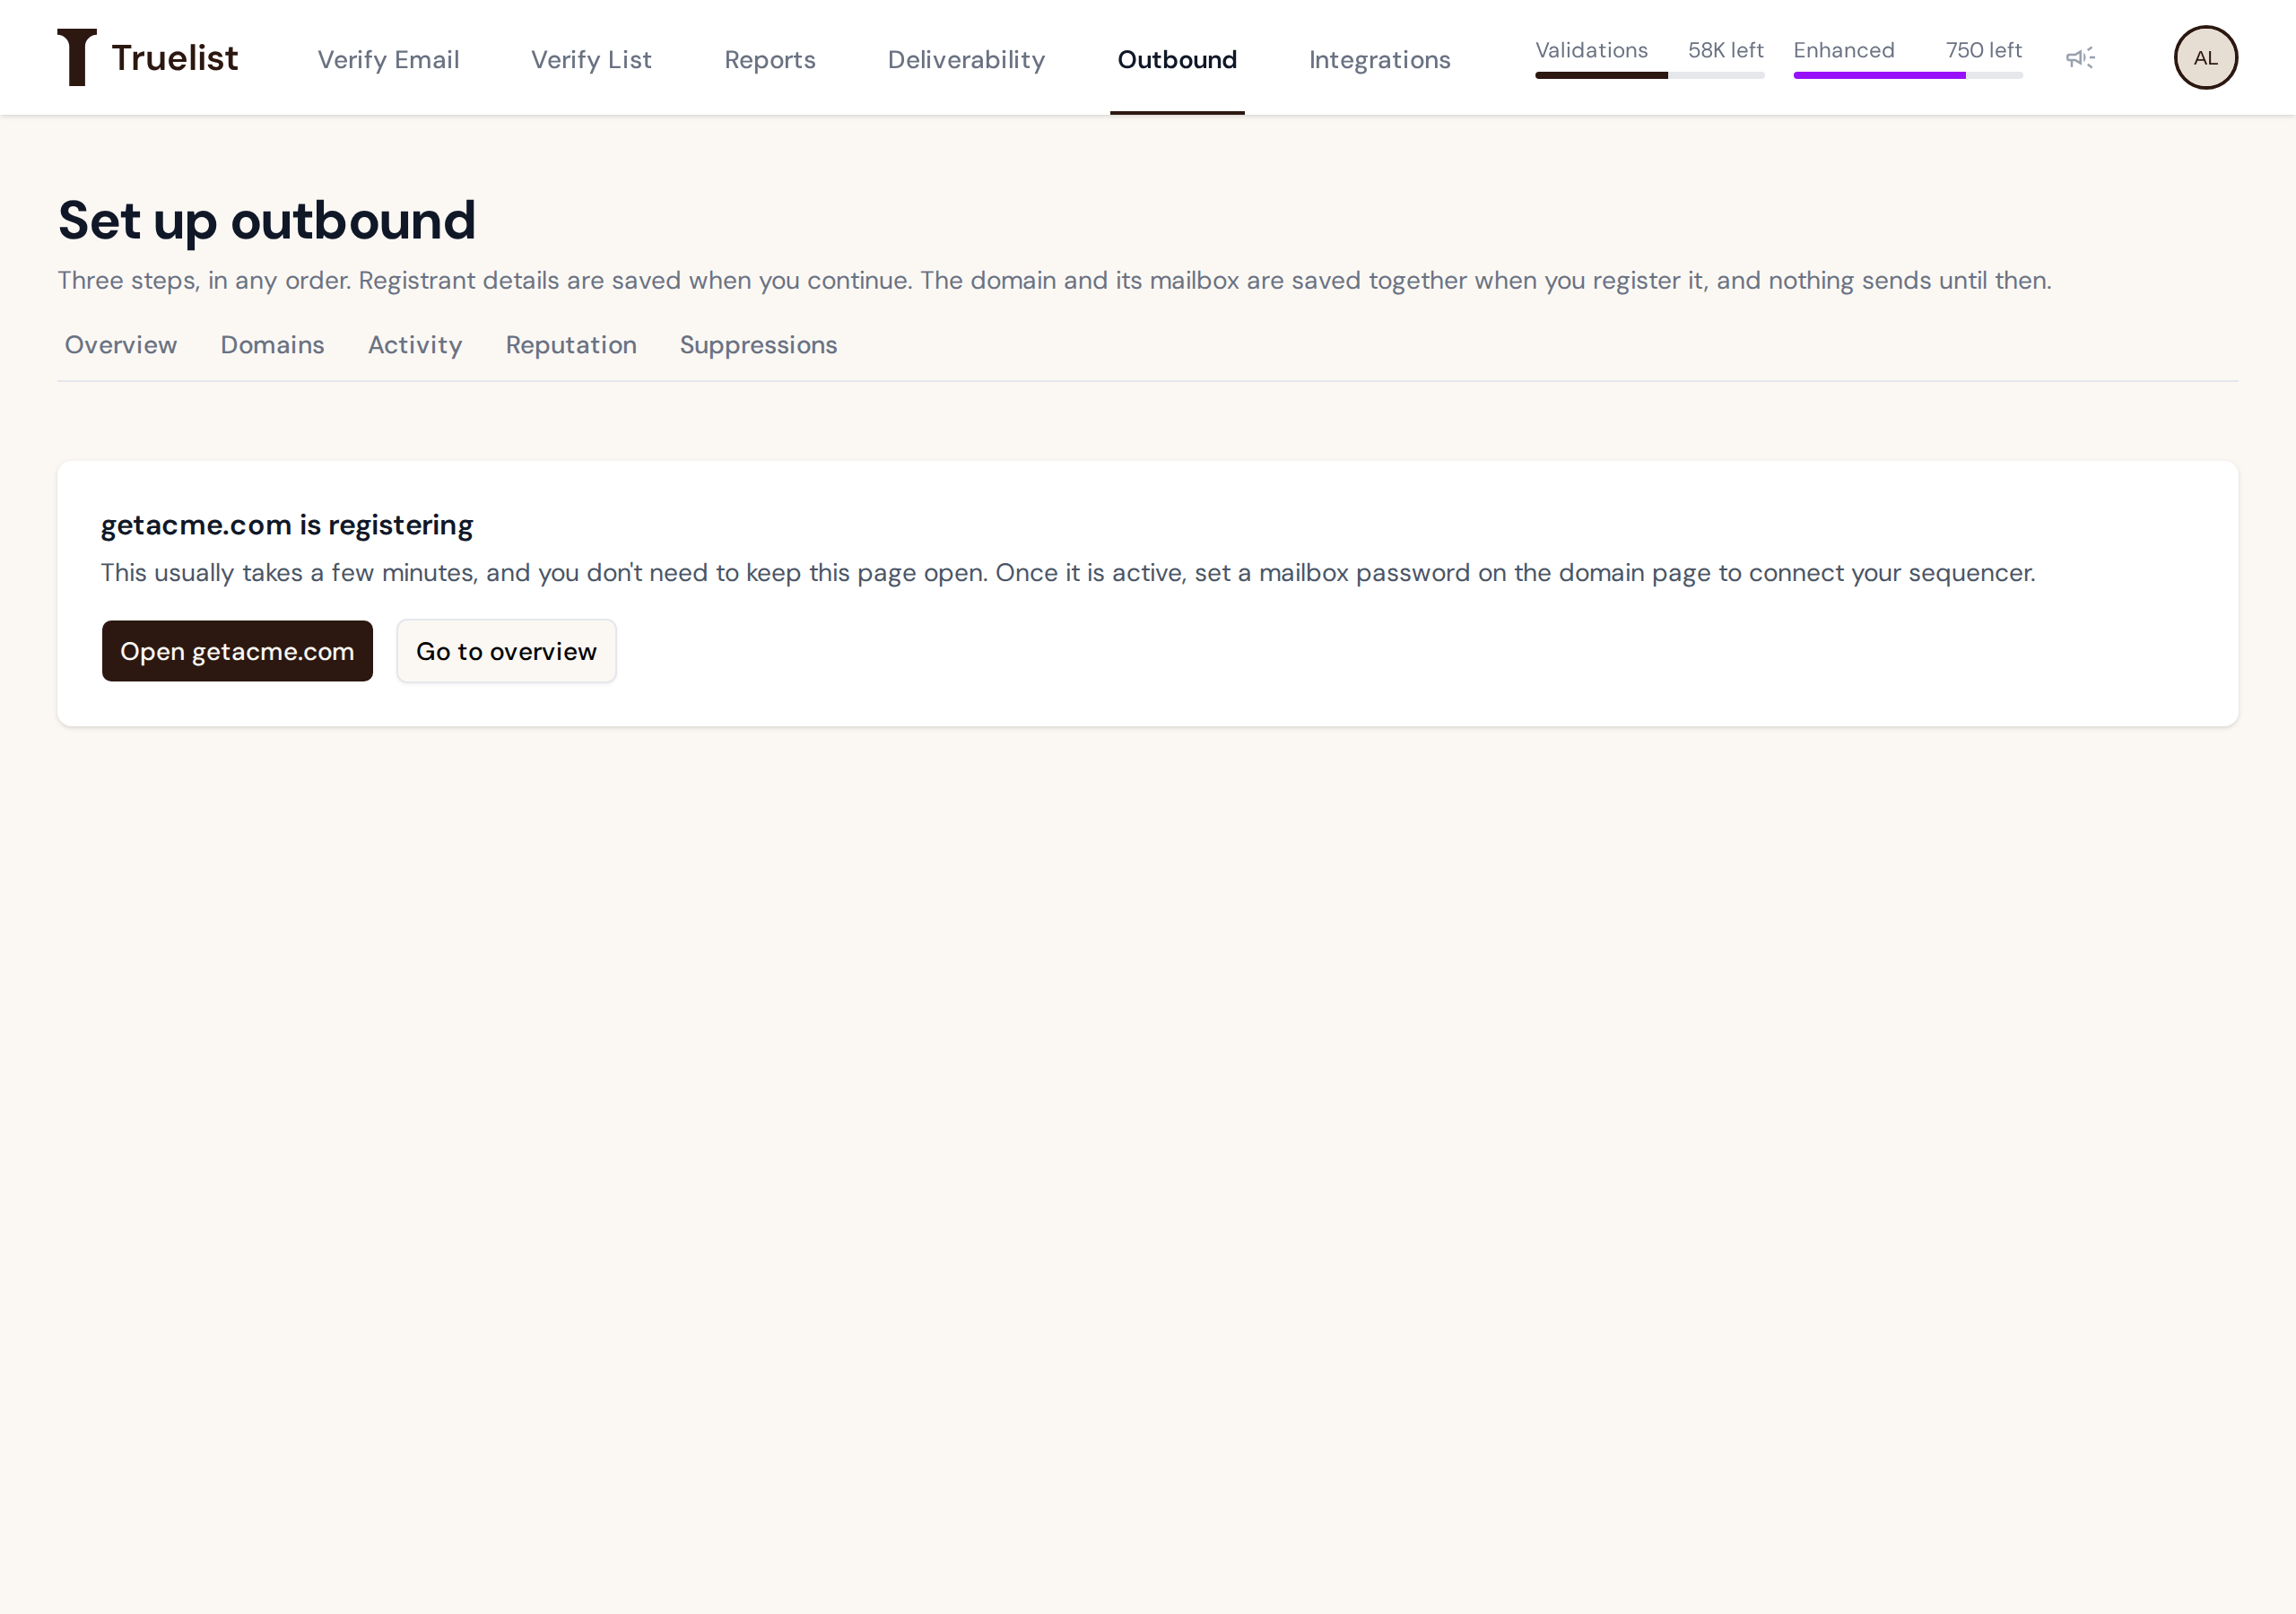
Once the domain is active, set a password on its mailbox to connect your sequencer — see Connecting your sequencer.
Common errors
If something is wrong, a red box above the form lists the problem, and nothing is registered. Common messages:
- ”
<name>is not available to register.” — go back to step 2, choose a different name, click Register domain again. - ”
<name>could not be checked with the registrar right now. Please try again.” — the registrar couldn’t be reached; try again shortly. - “Add your registrant details before registering a domain.” — finish step 1 first. Step 2 warns you about this in advance: “You haven’t saved registrant details yet. You can carry on, but the domain can’t be registered until you do.”
- “Your plan includes N domains and you already have N.” / “Your plan includes N mailboxes per domain.”
- ”
<x>is not a valid mailbox name.” / “Each mailbox needs a different name.”
If registration was accepted but the domain stays registering for much longer than a few minutes,
contact support.